GMetri built its own server-rack and cut cloud costs by 75%
The most common way of hosting new services is to rent Virtual Machines (VMs) from Amazon Web Services (commonly called Elastic Compute Cloud or EC2) or Google Cloud Platform (commonly called Google Compute Engine or GCE).
While these are the easiest ways of getting a VM up and running within minutes, these methods have strings attached. Running VMs on AWS or GCE isn’t always the most efficient use of money, especially with startup budgets. It also increases one’s dependence on large cloud providers.
Why do you think so many new Clould Compute companies come up every year even though we already have AWS and GCE? Because there’s enough value left on the table for incumbents to try and lower the margins. The price to performance ratio is also one of worst with the above mentioned companies.
To keep costs in control AND get good performance for our services, we took an unorthodox route (for startups at-least) - build our own mini data-center in-house (ahem.. a single server-rack for starters).
In-house services run by GMetri, the Virtual Reality Company, are the same that most companies need from day 1 to function efficiently: chat (Zulip), storage (Nextcloud), git (Gitea), docker, Video Confernce (Jitsi), centralized login (LDAP), other VMs.
How it all started
Long before we setup our first server-rack, we were already using a few desktop machines like servers. At the time, we used KVM as our hypervisor. All the steps have been detailed in this repo. The biggest hurdle while doing this was setting up the bridge network to make the VMs behave as if they were standalone servers on our network
Benefits of hosting your own server-rack
- Much better performance than we had ever imagined
- Superb flexibility
- Developer specific VMs, personal Kubernetes clusters. Note: following the “general guidelines” of giving every developer their own VM or a Kubernetes cluster is generally out of scope any startup’s (actual startup, not large companies masquerading as startups) shoestring budgets
Steps involved in setting up the server-rack
- Purchase a server rack housing, switch, lots of storage, and server system (more about specific configurations in a separate post)
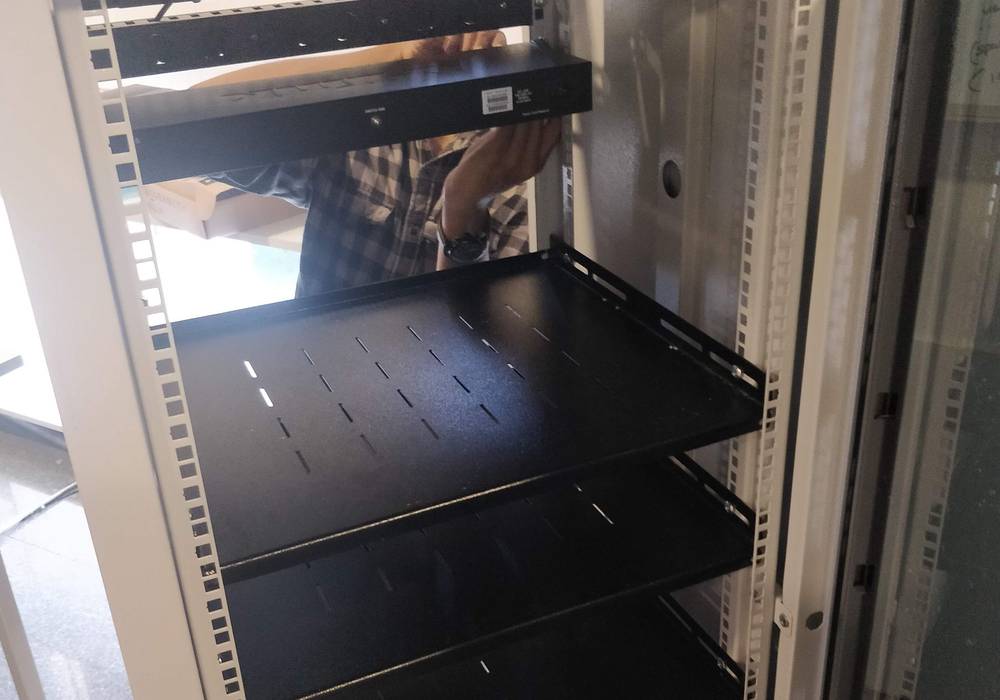
- Prepare server trays
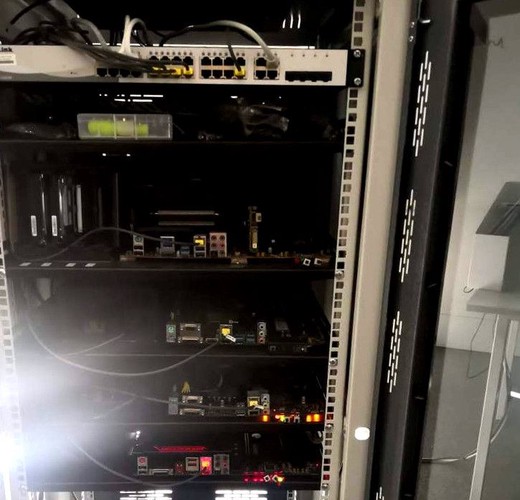
- Put the switch, server trays into the server rack. Link up the power and LAN cables
A few pics of the process:

Cluster Management
There were two popular options we compared while deciding which software to use for cluster management - oVirt and Proxmox.
oVirt
oVirt is a open-source virtualisation software founded by Red Hat. It has a steep learning curve and used mostly of large server deployments.
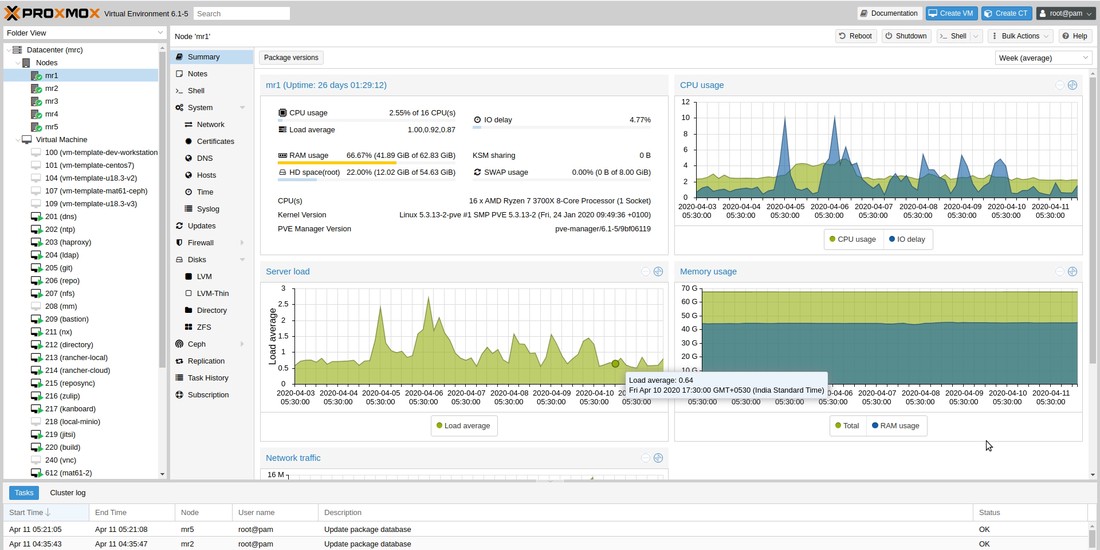
Proxmox
Initially we were sceptical of using Proxmox. But later, the simplicity won us over. For beginners, the WebUI is a life saver, and for advanced tasks there is a suite of commands on command line. The deciding factor for us was the easy setup of Ceph cluster within proxmox. We have a very heavy storage requirement, and it turns out ceph is just what we were looking for. Most of our VMs also run on virtual disks (like EBS) setup using Ceph’s RADOS Block Devices.
Way Forward
I believe that if not for all services, around 70% to 90% non-prod services can easily be ported to one’s own cloud.
Here’s a time-lapse of the whole process
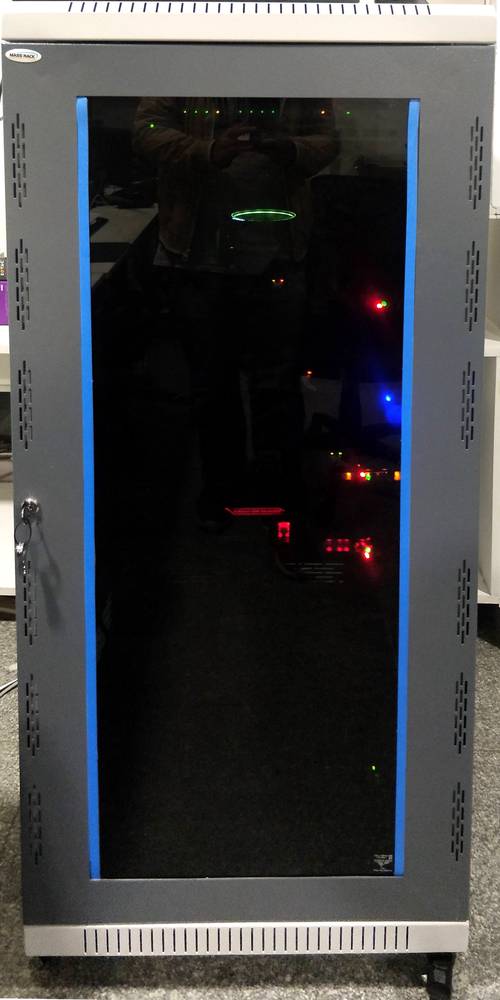
On a closing note, the server rack looks like this currently :). We might soon need to purchase a few more.